Jackie H. Silver Post Medal for All Time! 355 Posts
April 23, 2019
I bought all the supplies on Amazon.com, the wax, the wicks, a color kit, and a scented oil kit. Then I began making candles out of old empty jars, and then found old antique teacups and saucers. These make wonderful keepsake treasures and special gifts. And it is very easy, but requires "caution" when working with hot, melted wax.
Supplies:
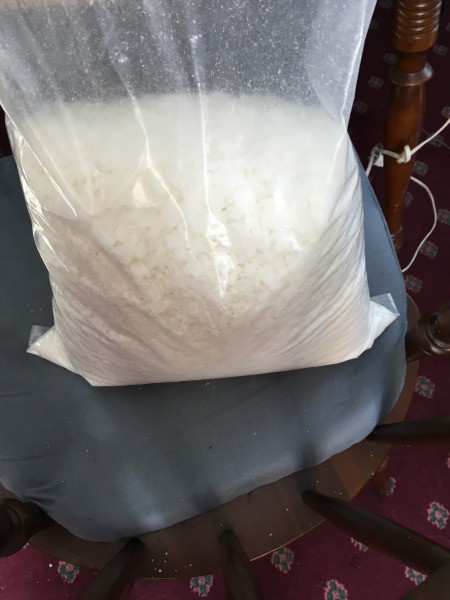
10 lb. bag of white wax chips
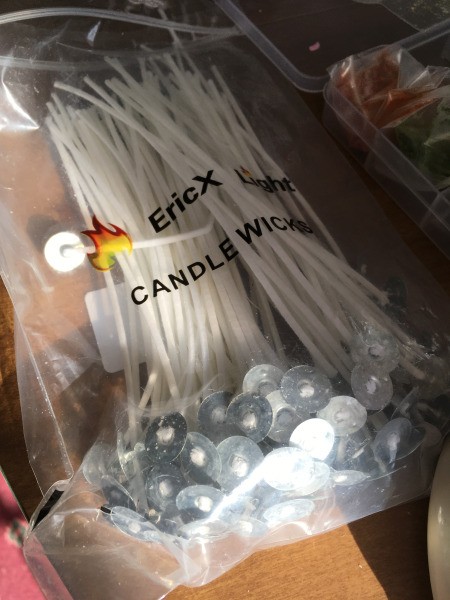
1 package of 50 wicks which have the metal stand on the bottom (you cut them to the height you need)
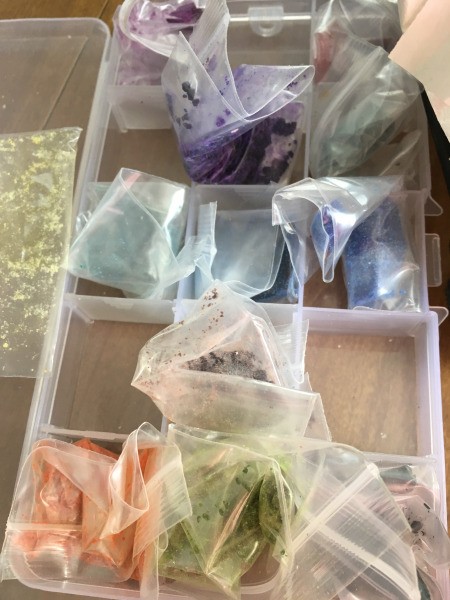
I bought a kit (a plastic box with separated squares of packaged colored pieces of wax to color your candles)
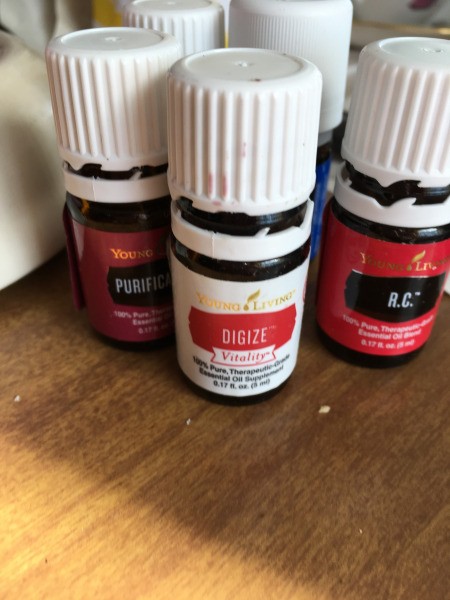
kit of 10 scented oils
candle warmer, I already had this item
clean recycled jars
teacups and saucers, from flea markets, yard sales, or thrift shops
Steps:
Start by covering your workplace with heavy paper or newspaper. You need a half table to work with this.
Advertisement
Make a slit in the large bag of wax. Fill as many jars as you can to the rim with the chips.
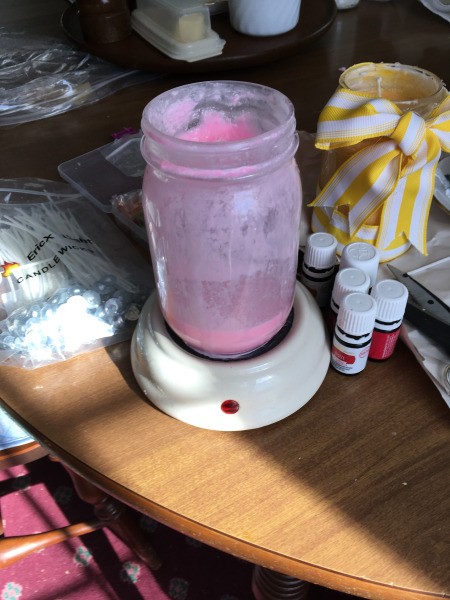
Have the hot plate warmed up in a place where no one (even you) can trip over the cord. I already had a candle warmer, that is all you need. It is discouraged to melt wax on a stovetop. Wax can get to a high degree of heat that can become flammable! I would rather work slow and safe!
Take a filled jar of wax and place it on the warmer. It takes about 3 hours to melt one jar. You will notice as it melts, the quantity goes down. Fill the jar back up to the rim with more chips. They melt faster because you are adding to hot wax.
Advertisement
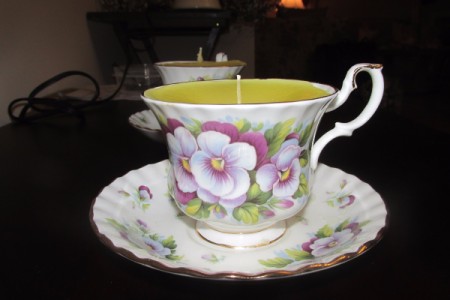
When you have a clear full jar of melted wax, add your color and your scent. A little color chip goes a long way. Likewise, it only takes a few drops to scent a candle. You can also mix your scents to come up with your own creation.
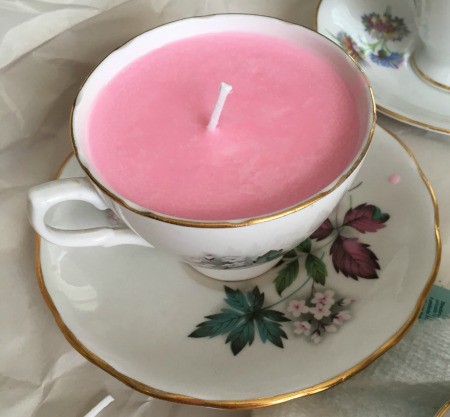
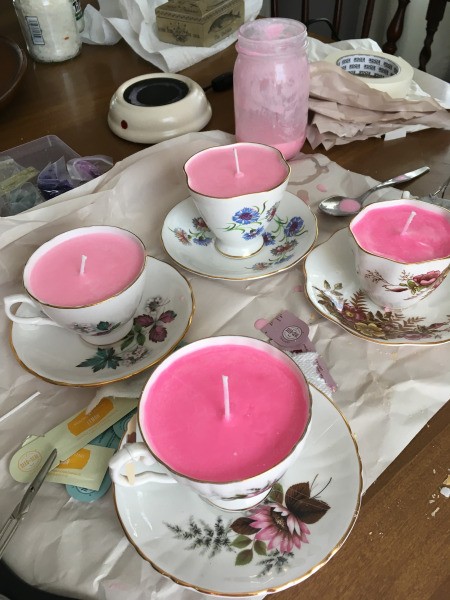
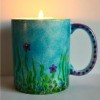
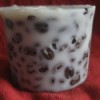
The 4 teacups you see in my pictures were made from 2 small pieces of pink chips. The first two came out dark pink, I added more wax chips to the jar with just an inch of color in the jar, and made the two lighter pink candles.
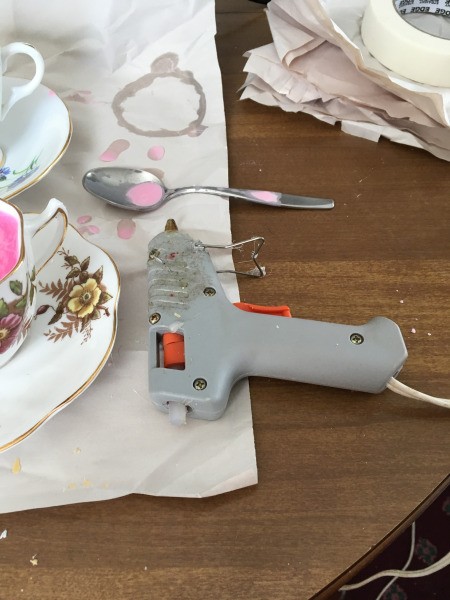
Put your measured wick in the middle of the cup, to keep it balanced, just take your scissors and close them tight to the wick and balance the handle of the scissors on something the same height and leave it for a few hours. When dry, using a hot glue gun, hot glue the cup to the saucer.
Advertisement
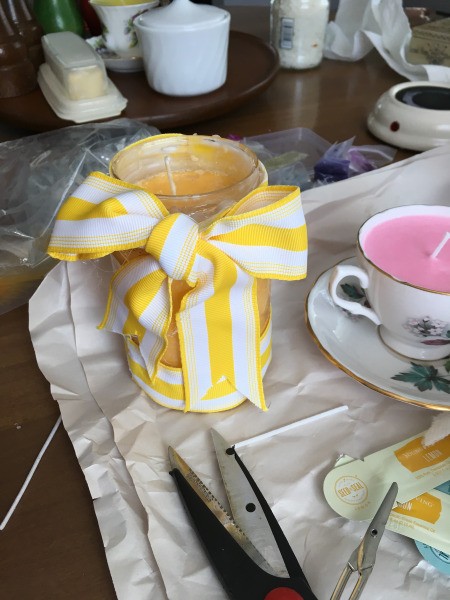
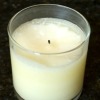
When filling jars, use the same process. Use clean recycled jars. Wash and remove the labels with alcohol. Fill the jar to the rim with wax, color, and scent. Then measure and balance the wick. When done, put a thick ribbon around the top, and make a simple bow. Put hot glue under the rim, and a few dabs under the bow! You can decorate the outside of jars too.
You can become as creative as you want with candle making.
Year around I use a lot of candles. The wick always burns out before the wax, leaving so much leftover wax that goes to waste, (not on my watch!) I take the wax and melt it down, add wicks, and make decorative cups for gifts that are a conversational piece and a decorative thank you to friends.
Becky Miles Bronze Feedback Medal for All Time! 158 Feedbacks
December 28, 2015
This is a simple project, but I think the results are so pretty. These make a nice gift or decoration for your house. No special candle-making tools are necessary.
Advertisement
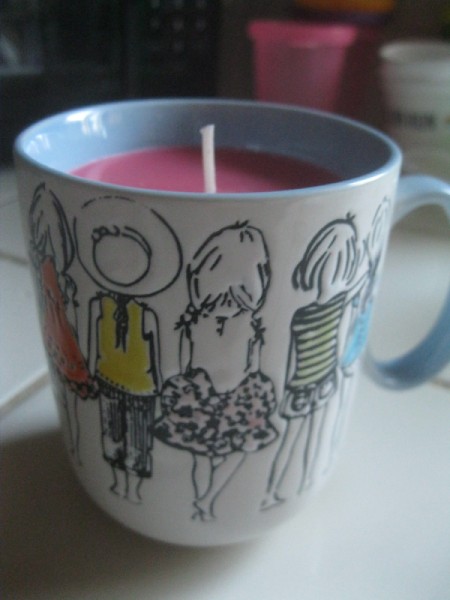
You can purchase the candles at a dollar store and pour the wax into an old teacup or mug. I paid $5 total to make these 2 candles.
Jackie H. Silver Post Medal for All Time! 355 Posts
July 25, 2017
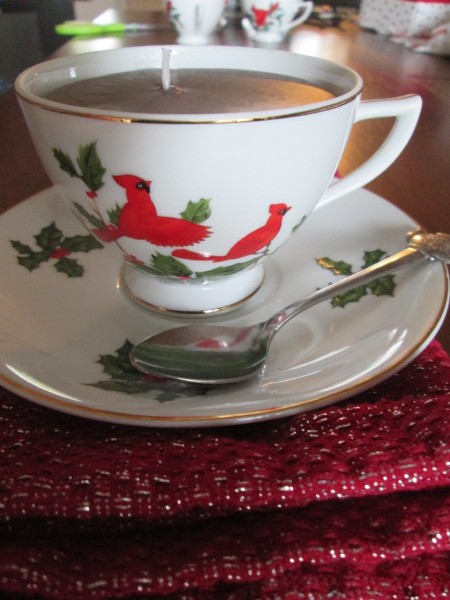
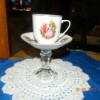
As I was unpacking in my new home, I decided to do something with some of my bone china collection. I made a few of these candle cups to use as special keepsake gifts.
Advertisement
They make nice warm heart filled gifts for an old friend or when visiting a friend you have have not seen in a long while.