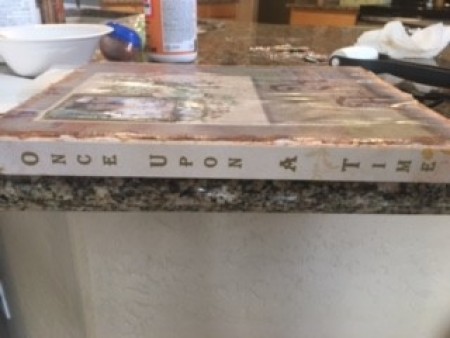
This is a storage book I created for my daughter's fairytale/garden wedding theme. The storage on the inside will be used to store her wedding advice cards.
Total Time: 2 hours
Yield: 1
Source: https://www.youtube.com/watch?v=vFUgYzQfpqo
Supplies:
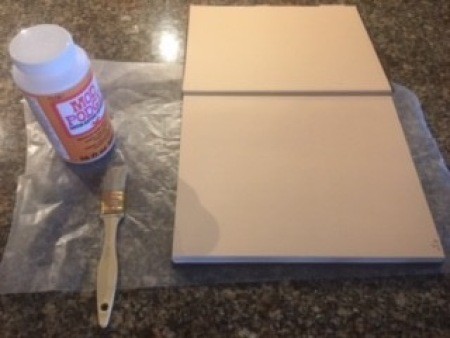
- Mod Podge
- ribbon to tie book shut
- old book
- paint brush
- piece of scrapbook paper
- sponge
- dark brown acrylic paint
- design printouts printed on card stock or photo paper
- scissors
- razor blade knife
- scissors
- spray paint

Steps:
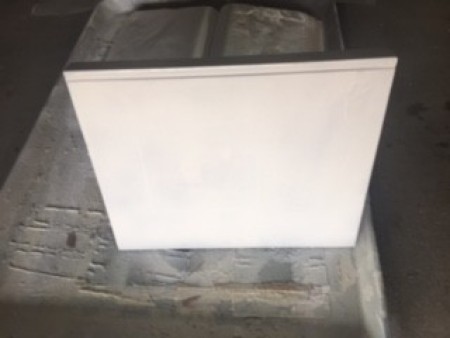
- You may wish to add a ribbon between the last page and the book back as well as a ribbon on the inside of the underneath side of the front. Mod Podge three sides of pages of book, with thick layer of Mod Podge Keep book open. Lay wax paper over top. Lay a brick or something heavy on top of pages until completely dry.
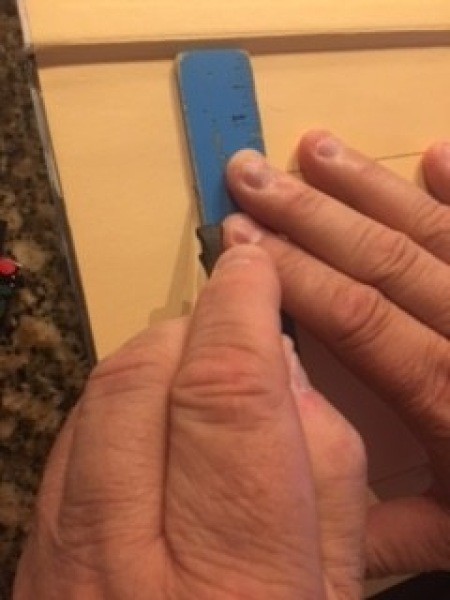
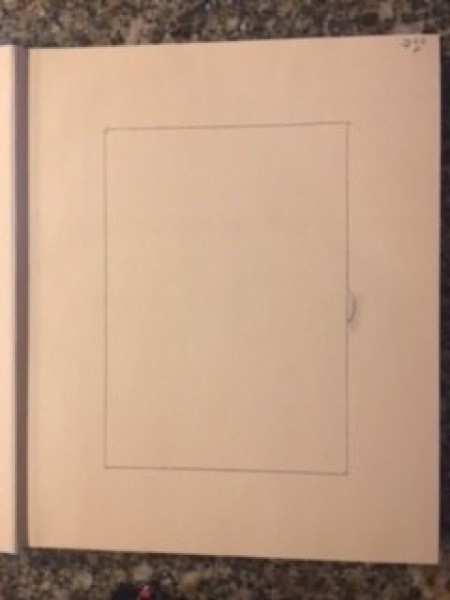
- Flip book over to other side. Spray paint spine, back, and front of book with two or three coats of paint, letting dry in between coats thoroughly. To make the storage area on the inside of the book, mark with a pencil and ruler the size of the square or rectangle you want to cut out. Using the razor blade knife, cut around the pencil line a few pages at a time until you have reached the depth that you desire for the storage. (I didn't go all the way to the bottom.) Apply mod podge, a thick coat, to the inside of the box you have just cut. If desired, add a decorative piece of scrapbook paper at the bottom to cover up any printing from the book page. Let dry thoroughly.
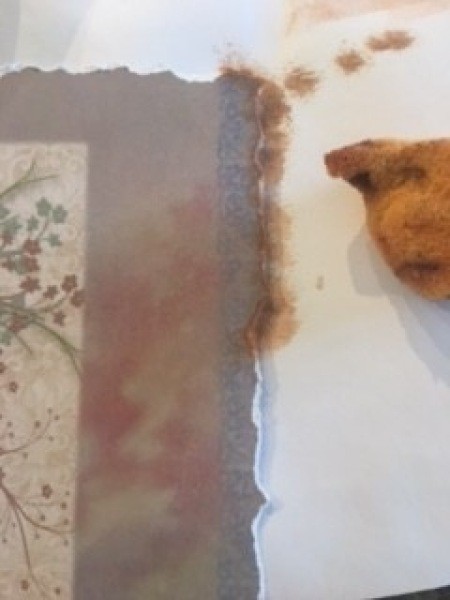
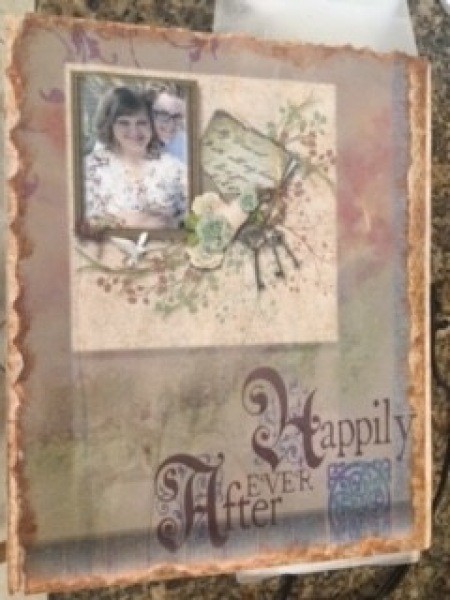
- Print desired designs for front and back of book on cardstock or photo paper. Tear edges to make the cover look old. Using a sponge, dip into brown paint and blot onto a piece of scratch paper to get rid of excess paint. Dab with sponge around the edges of paper and parts of book that are not covered by printed design. Mod podge back design to back of book, using two or three coats. Let dry thoroughly in between coats. Repeat for front of book and spine of book.
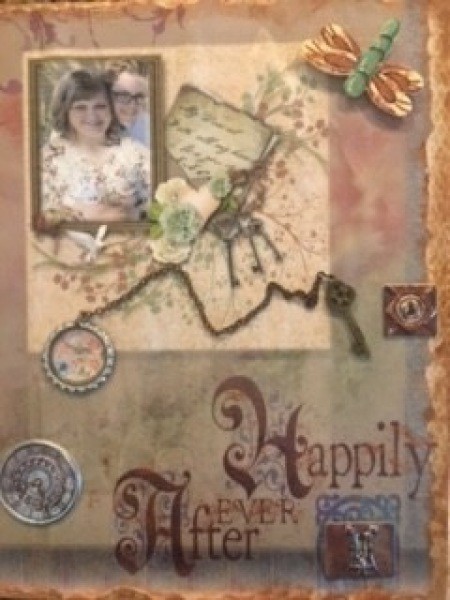
- When thoroughly dry, glue embellishments on front of book.

Add your voice! Click below to comment. ThriftyFun is powered by your wisdom!